

Introduction: DIY Dodow Clone Arduino Sleep Meditation Machine
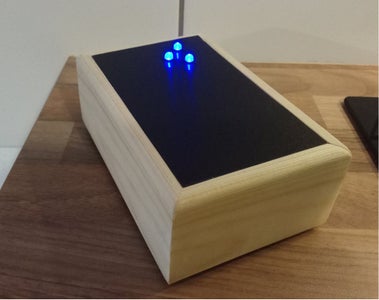


Sync your breathing to the glowing lights to decrease your breath rate and hopefully fall asleep easier.
After possibly my hundredth thousandth sleepless night I was searching for anything that could help make me fall asleep quicker when I stumbled across the Dodow. It's basically three flashing LEDs that gradually slow over time with the intention of trying to relax you so you can fall asleep easier. Kind of like those meditative breathing exercises.
To me this seemed like a great project to recreate with an Arduino. I've tried to recreate as much functionality as the original; you can choose between an 8 or 20 minute mode, you have an on/off switch and a reset button. You could also play around with the code and tailor it for yourself.
Step 1: What You'll Need
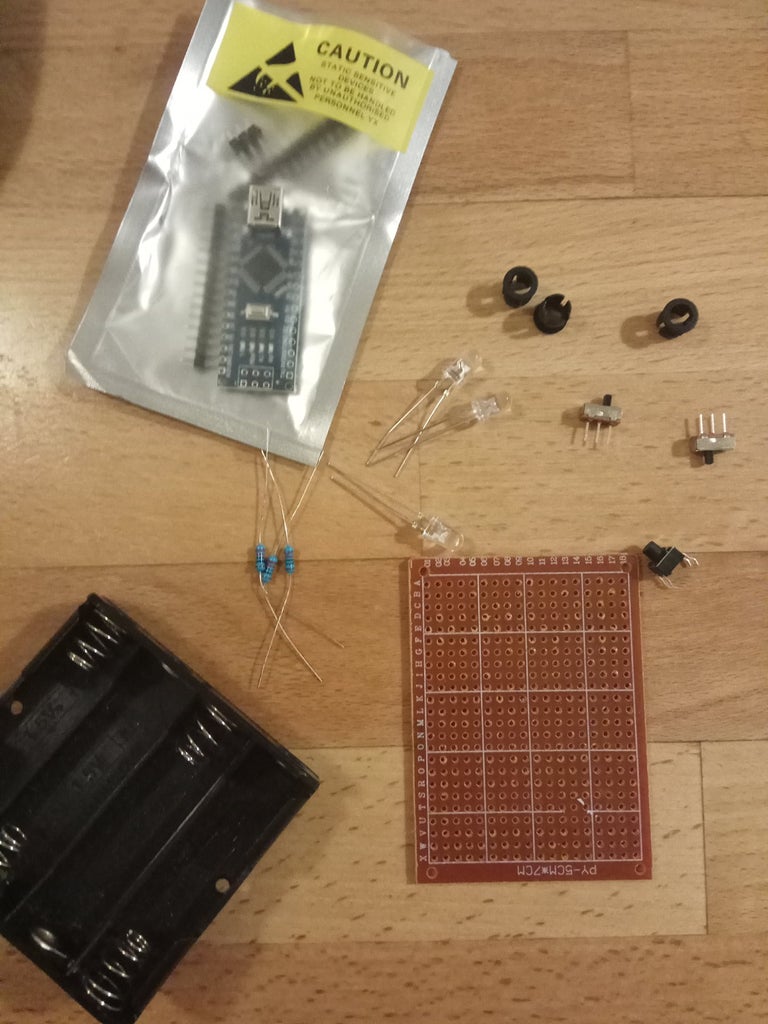
x1 Arduino Nano $3.46 from banggood.com
x3 LEDs Around $0.34 each
x3 220 Resistors Around $0.13 each
x2 SPDT Switch buy 100 here for $2.76
x1 pushbutton switch buy 100 here for $3.25
x1 4AA Battery Holder $2.17 from banggood x1 small bit of perfboard to solder components on.
You'll also need wire for connections (I used 22awg), a soldering iron, solder, maybe heat-shrink tubing if you're a perfectionist. Possibly screws depending on what sort of case you make? Oh and maybe LED holders.
You could use an Arduino Uno if you don't have a spare Nano (the pins are the same), but you won't get as good battery life with the Uno.
Step 2: Upload the Code
Now upload the code to the Arduino. It'll run on a Nano or Uno without changes, however you'll get much better battery life from the Nano. If you know a little about programming you might be horrified at this code... Please feel free to improve! You can also increase/decrease the time between flashes etc.
Attachments

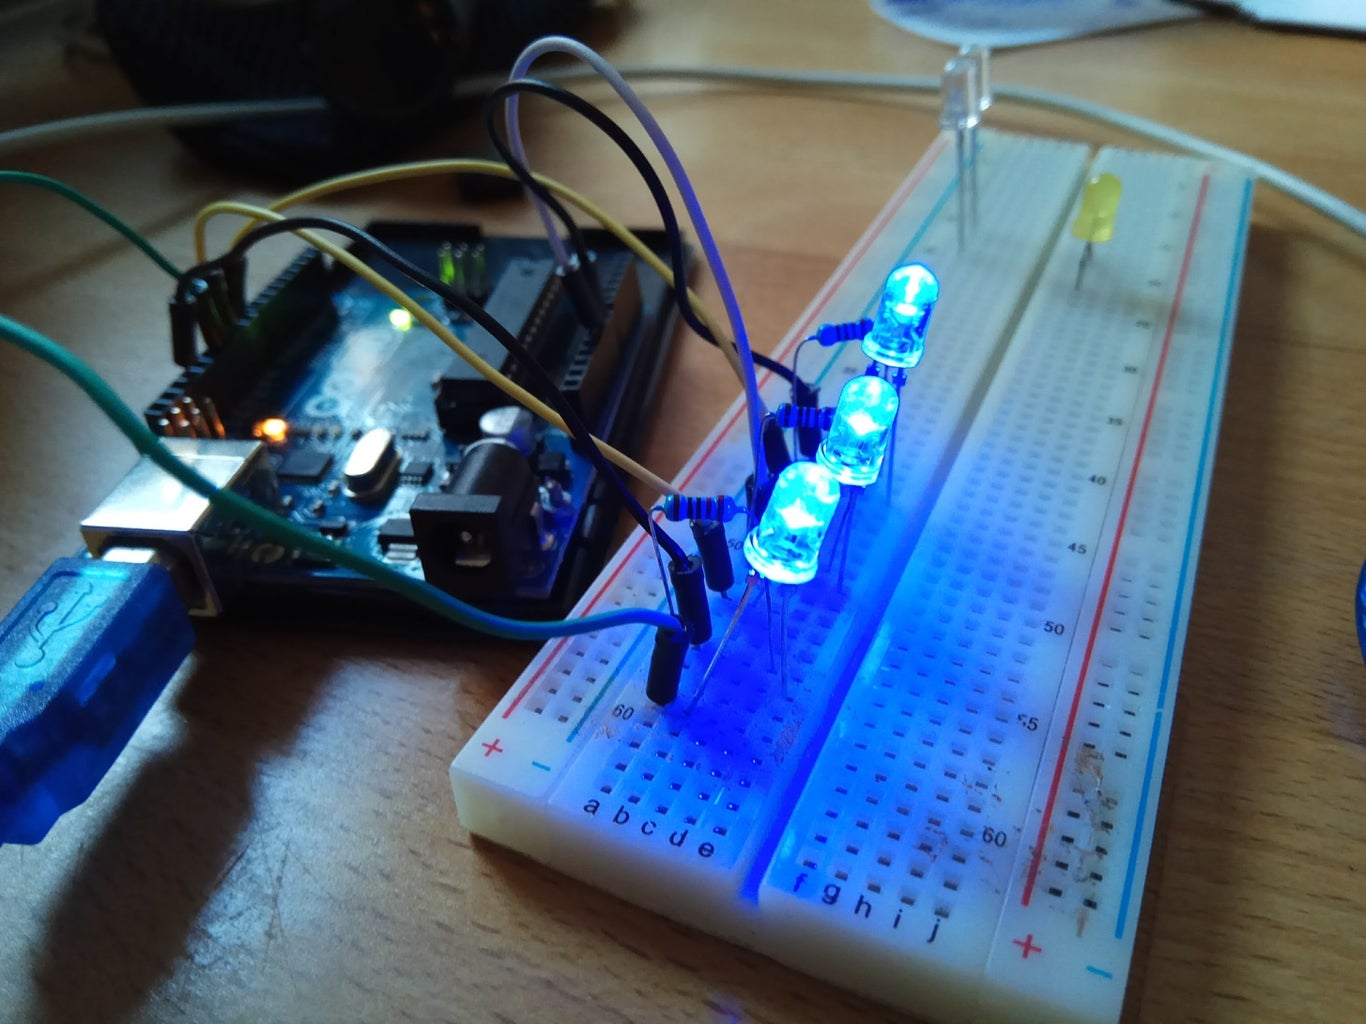
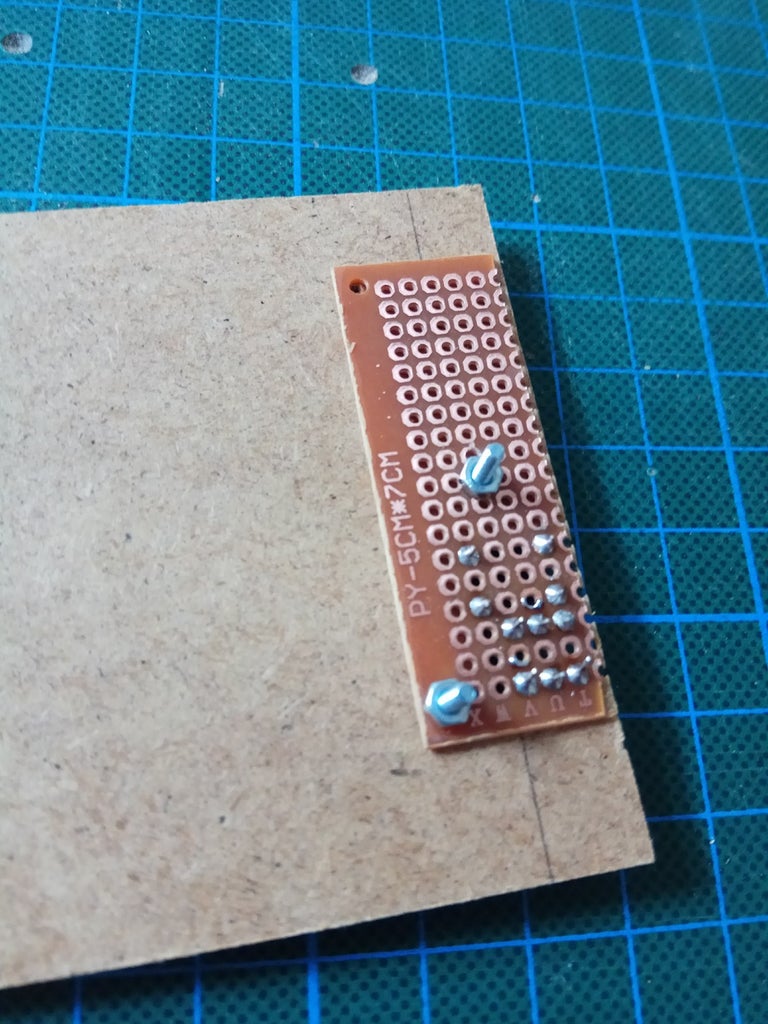
Step 3: Construct the Circuit

You could breadboard the circuit first and play around with the code, or just solder it up permanently.
LEDS:The shorter legs of the LEDs have the 220 Ohm Resistors connected to them, after this they go to ground.
The longer LED legs go into the following pins; D9, D10, D11
RESET SWITCH: One edge side of the reset switch goes toto the RST pin, the middle pin goes to ground. The third pin is unused.
8 MIN / 20 MIN SELECTOR SWITCH: One edge side of the switch goes to D2, the middle goes to ground. The third pin is unused.
POWER: The positive lead of the battery goes to one end of the slider switch, the middle pin goes to the ArduinoVin. The third pin of the switch is unused.
Step 4: Put the Circuit in a Case
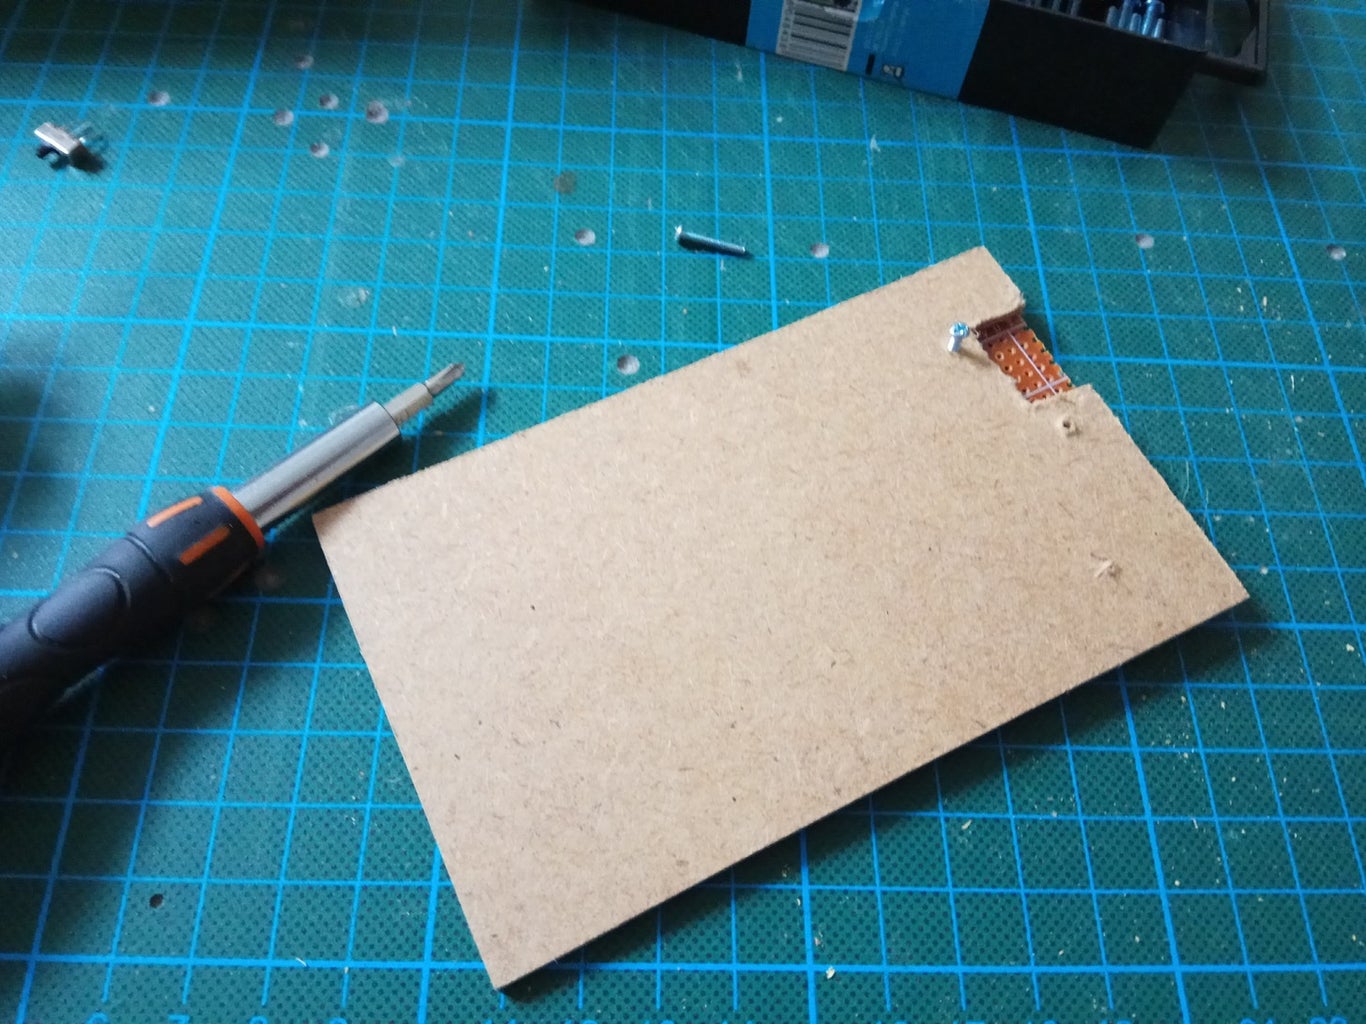


I used a mitre-box and some spare wood to create the case, then I secured the LEDs with LED Holders into some black project DIY sheet. The back was just fibreboard with a few screws to keep it all in place. Finally I hot-glued the battery pack to the board and added some rubber feet.
Hopefully you should now have a working Dodow clone. Sleep well!

Participated in the
Arduino Contest 2017

Participated in the
First Time Author Contest 2018


