

Introduction: Amazing ARDUINO Killer


We love the Arduino board and it's prototyping platform . It makes the complete prototyping process smooth and enjoying with the help of it's add on such as Arduino IDE and a huge community support.But sooner or later you will find that the specifications provided by the arduino boards is not enough . And then the problem arises about which board should we use so that our desires are fulfilled.Also How easy is to use a non arduino board .
After a good research I found that the STM 32 is perfect fit.
Visit My Blog For more :- http://hardiqv.blogspot.com/
Step 1: Difference Between STM32 and Arduino Nano
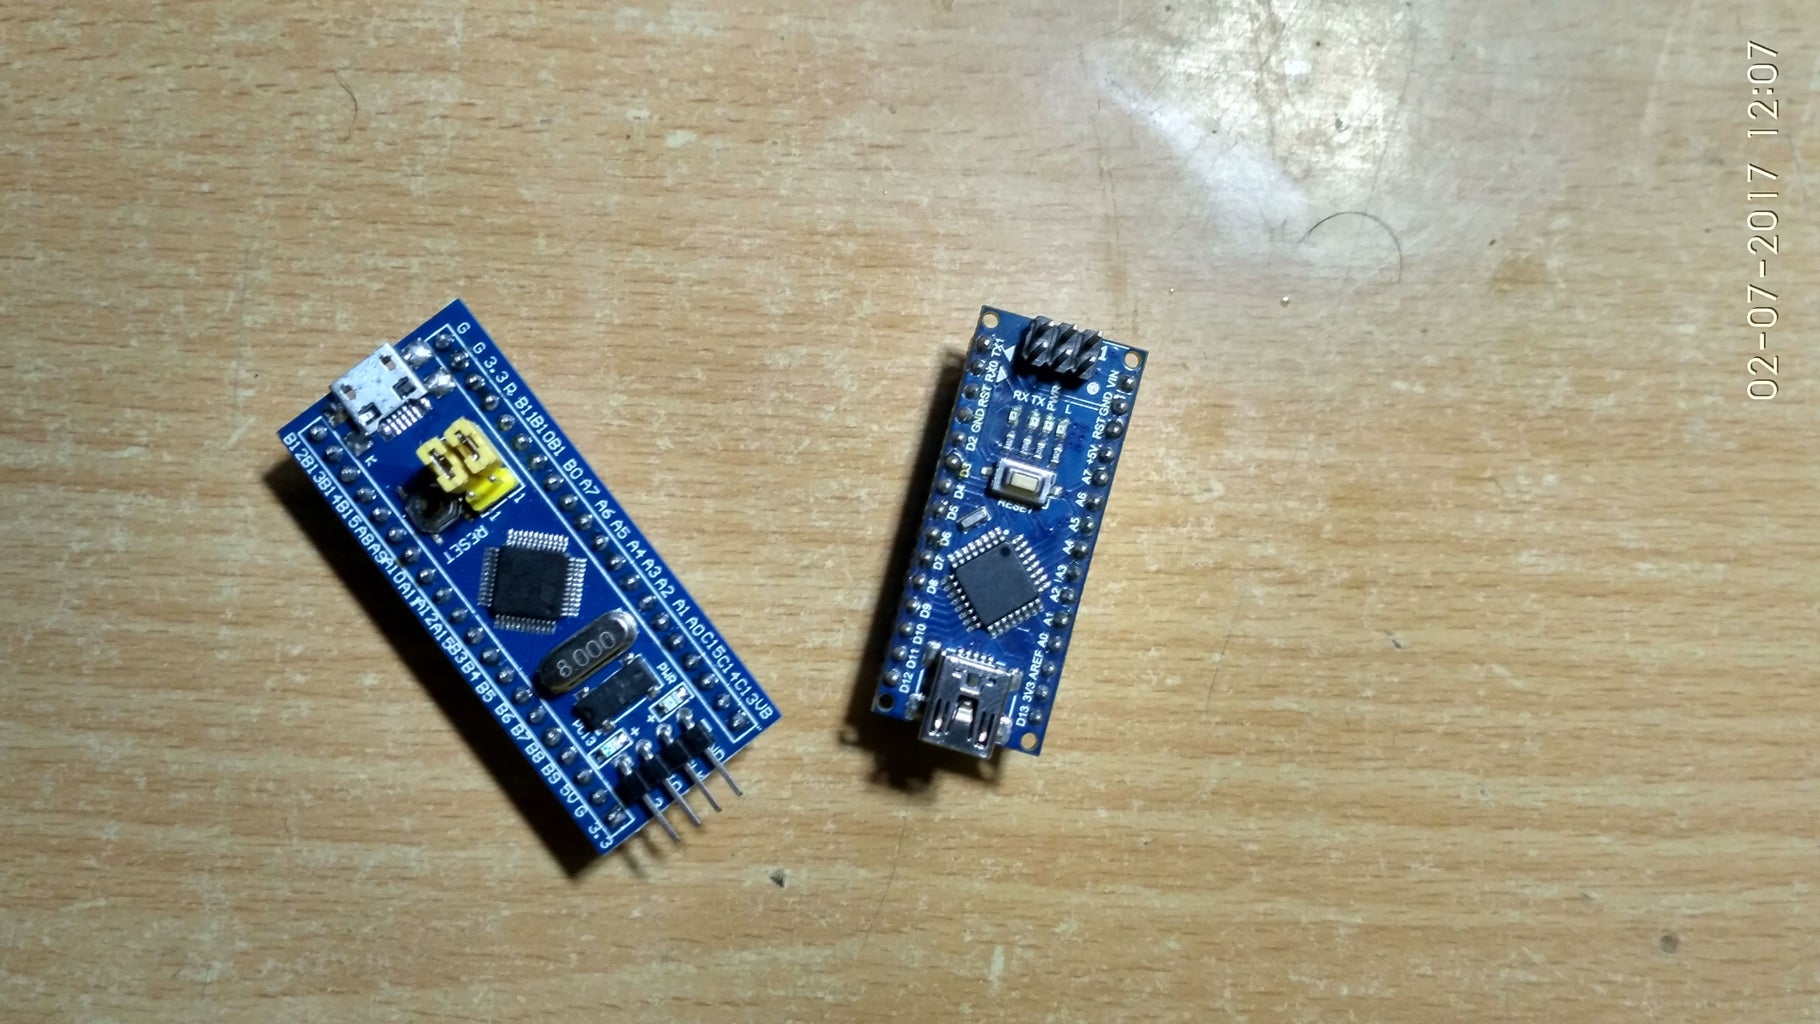
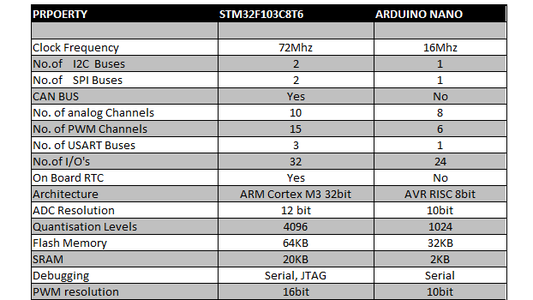
Comparison between the two development boards can be made out on Two things namingly hardware and software.
From the hardware aspect the STM32 board completely outshines over the Arduino Nano.
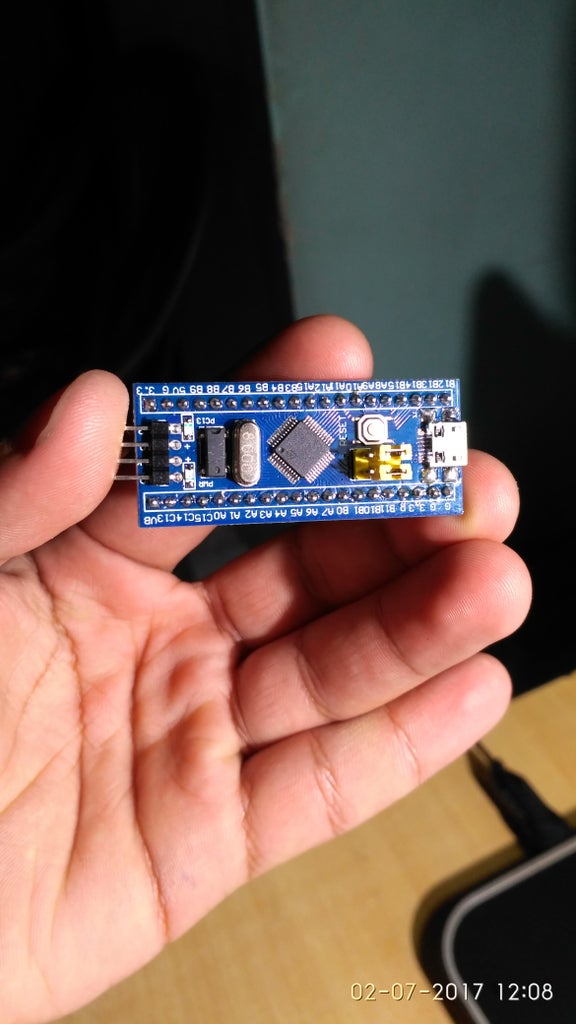
The STM32 Has almost identical form factor as compared to Arduino Nano.
STM32 also provides some of the great features as compared to the Arduino Nano.
It has on Board RTC and you can also connect a battery to the Vbat pin in order to retain the the RTC data.
It also has a DMA controller. DMA stands for Direct Memory Access Controller.
Also all the pins on the STM32 pins are 5v tolerant so don't need any level converters.
Also You can Program the STM32 board using the favorite Arduino IDE which makes it damn simple easy.
If you want to know more about the STM32 you can download the datasheet provided.
Attachments

Step 2: Getting Started With STM32

Go ahead and purchase this board from here :-STM32 board
Also big thanks for rogerclark for his awesome work to make these boards easy to use.
Also Download the Files attached in this instructable.
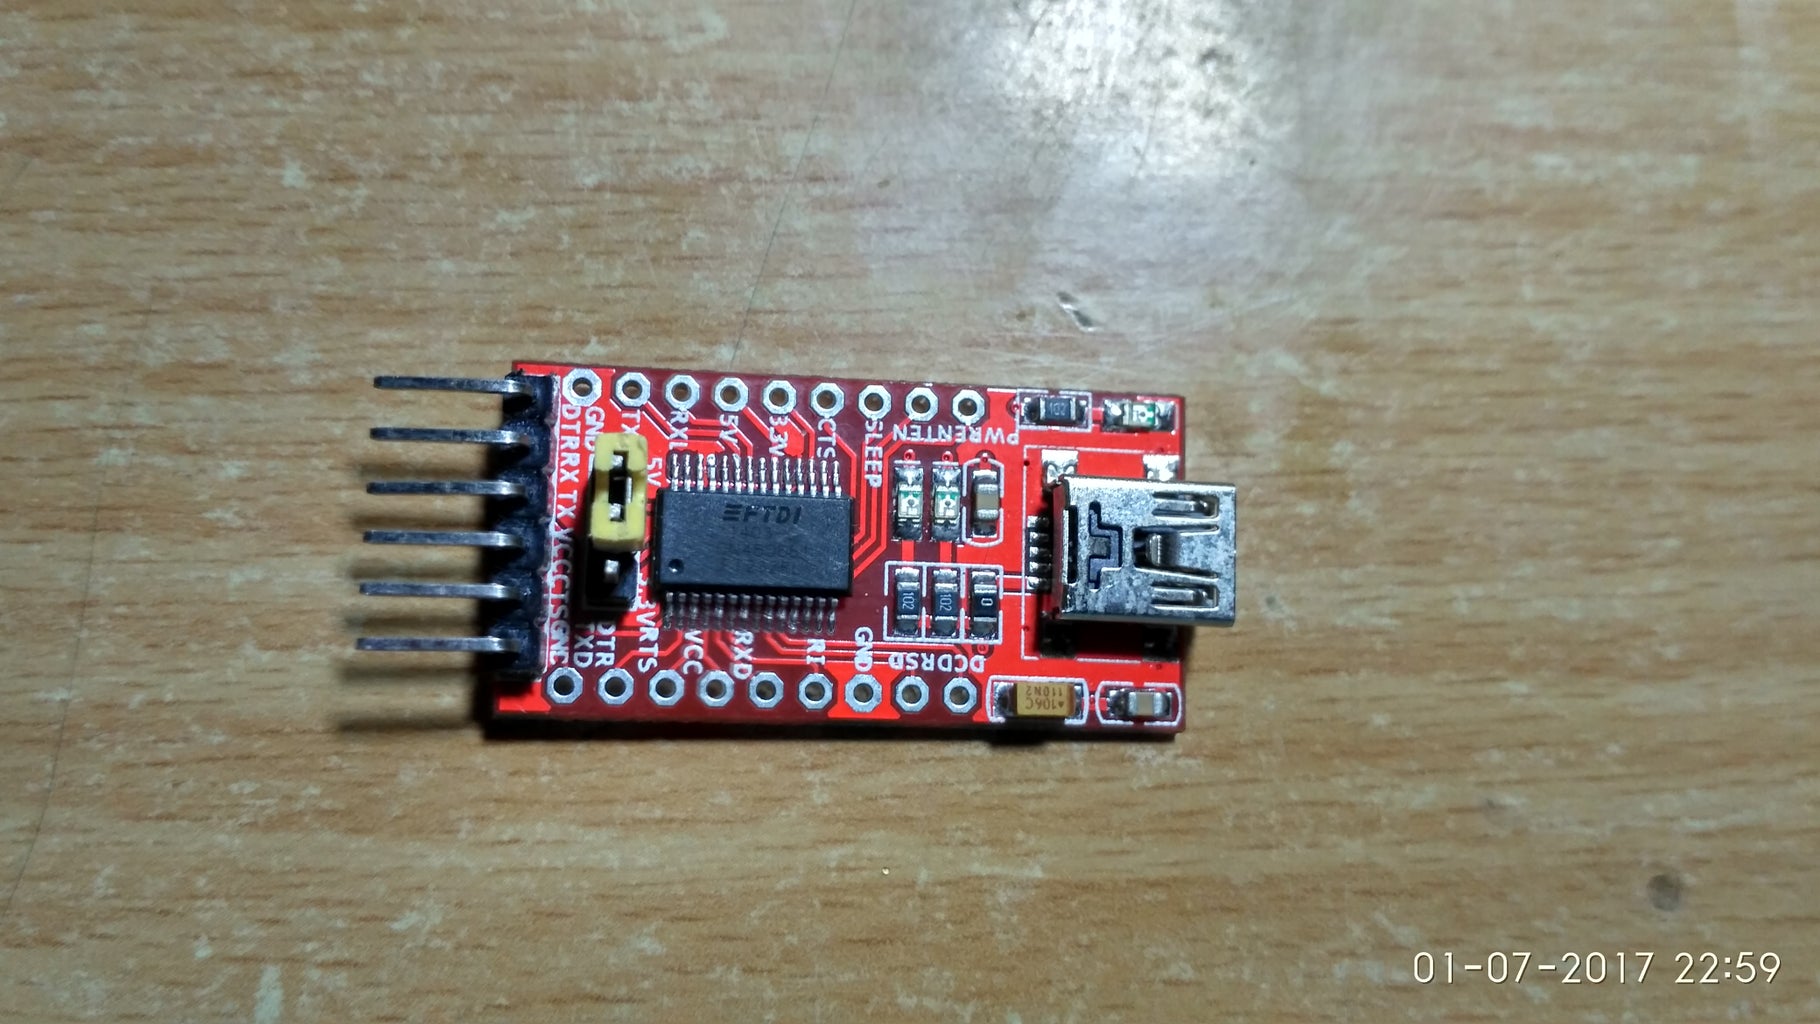
Also Install the The FTDI adapter driver on your computer.
Also Download the latest Arduino IDE from arduino.cc

Step 3: Configuring the Setup


Unzip the Arduino_STM32 zip file and extract it in the hardware folder of the arduino directory.
Then open Arduino IDE and go to boards Manager and install Arduino SAM boards.
Then Wire Your FTDI adapter as Follows:-
FTDI Pin STM32 Pin
VCC(3.3v) 3.3v
GND GND
RX PA9 or A9
TX PA10 or A10
Make sure you change the jumper from 5v to 3.3v on FTDI adapter.
Now also Install the The flash Tool provided in this instructable.
Step 4: Burning Bootloader to the STM32 Board


Just like the Arduino boards you can also install the Bootloader on to the STM32 Development Board .
By burning Bootloader to the board you can then directly program the board without any USB to serial adapter.
Open The Flash Tool and select the Correct COM PORT and then click Next.
and then choose STM32 medium Density 64KB and Then click next.
And then click next and then choose the .bin file provided in this instructable and then click next .
After a while you will see that the Bootloader is flashed.
Now you don't need USB to serial adapter.
Now you can directly program the STM32 board with The USB Cable
Step 5: UPLOADING Your First Program


Now Connect the STM32 board to the computer using a USB cable and Open Arduino IDE
Set the Parameters as Shown In the PHOTO.
Now Upload This Code
void setup() {
// initialize digital pin PC13 as an output.
pinMode(PC13, OUTPUT);
}
void loop()
{
digitalWrite(PC13, HIGH);
// turn the LED on (HIGH is the voltage level)
delay(1000); // wait for a second
digitalWrite(PC13, LOW); // turn the LED off by making the voltage LOW
delay(1000); // wait for a second
}
After Uploading The code You will see the LED Light Flashing.
YOU can also play with the delay to achieve different timing effects.
Step 6: FINISH


This is a basic guide to get you started .
Of course I will be making more instructables on this board so you can get better understanding.
Almost all arduino libraries are supported.
I hope you liked This Instructable .
Please Consider voting me in the contest and also Check my blog for more tutorials, projects and Facts

Participated in the
Makerspace Contest 2017

Participated in the
Power Supply Contest


