

Introduction: ANIMATED RGB WALL CLOCK


There is no doubt that you
will love this wall clock. In this project we used RGB LED again. And of course 3d printer is very important for us. We designed and produced some of the pieces needed for our WALL CLOCK again. And it's not just a clock. It also contains different ANIMATIONS. You can also use the clock as an animation if you like.
How do you control this clock and animations? Do not worry. We developed it in an application for you. Very simple application. You can download the link.
Arduino is indispensable. We used Arduino Nano to save space. Our RGB WALL CLOCK project, which has a small electronic circuitry, will not let you down. We do not want to excite you any further, and we invite you to watch our video.
And If you want to make this " ANIMATED RGB WALL CLOCK ", you need some materials,3D Printer parts files, arduino codes and electronic shematic.
Step 1: How to Make This Project
If you want to make this project, you will see each details on video. And also ı will share step by step project details....
Step 2: What Materials Do You Need ?


If you decided to make this project, you need some materials. You can see materials in pictures. And list below.
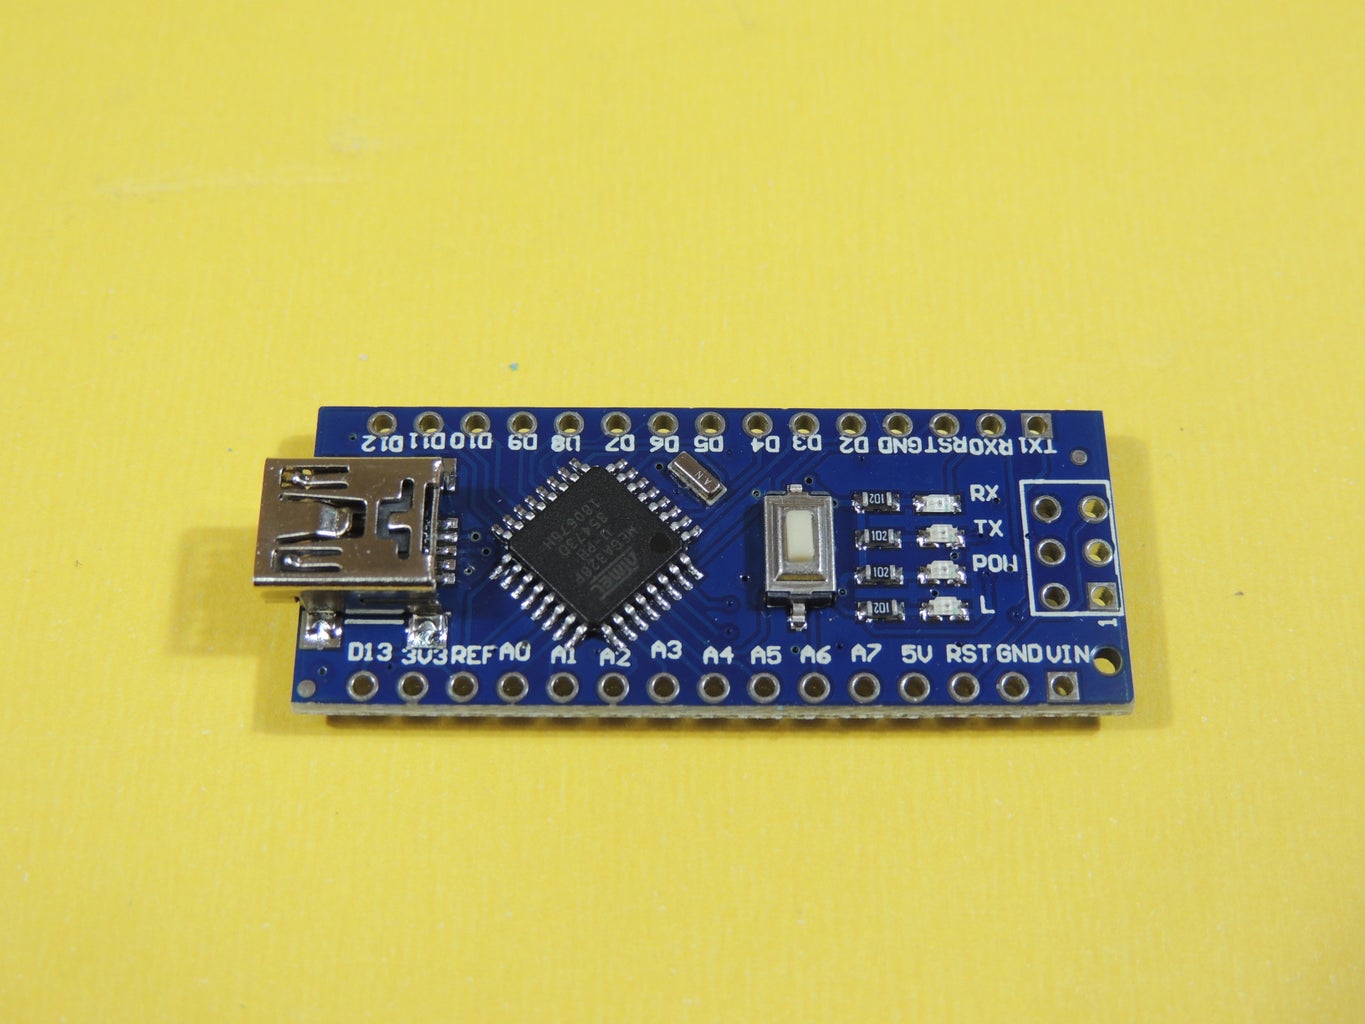
- Arduino Nano
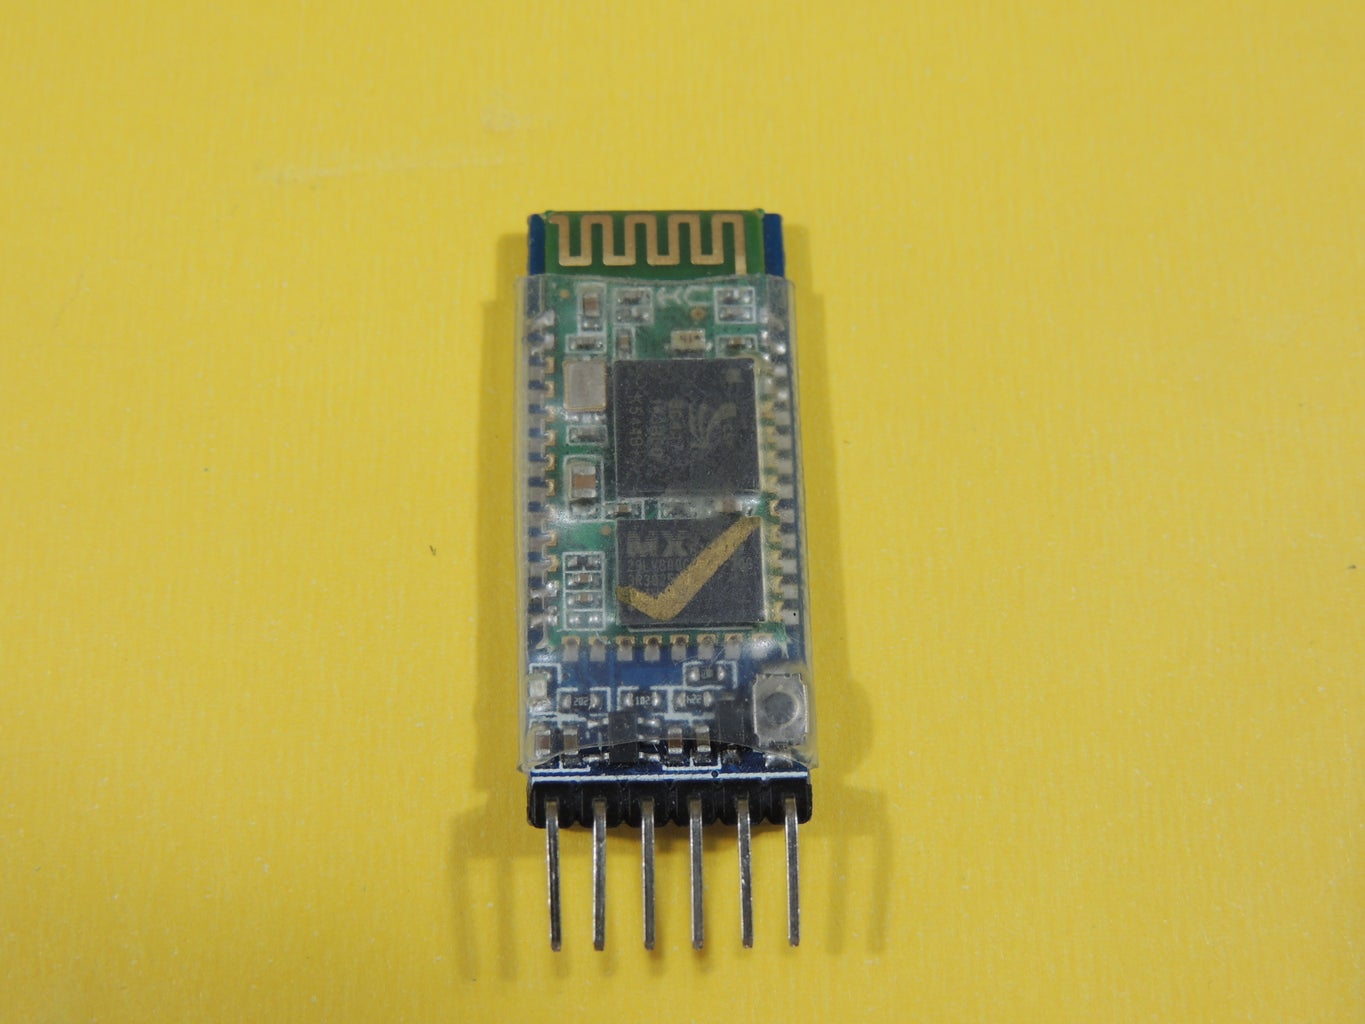
- HC06 Bluetooth Module
- DS3231 RTC Module
- RGB Stribe LED
- 3D Printable Parts
Arduino Nano
Amazon: https://goo.gl/6dk4RZ
Aliexpress: https://goo.gl/rMTpGJ
Bluetooth Module
Amazon: https://goo.gl/D8971y
Aliexpress: https://goo.gl/rftV3v
DS3231
Amazon: https://goo.gl/TYrsP1
Aliexpress: https://goo.gl/xLTmBb
Step 3: Starting Project


Firstly, We are printed some pieces on 3d Printer. We combine these pieces as on picture. you can use glue like 404...
Step 4: Holes and Leds


These pieces have 60 holes. each hole indicates a minute & second. So we place each led on a hole.
Step 5: Inner Pieces


We designed inner leds for days or hours. In picture, you can see.
Step 6: Electronics


We finished 3d parts chapter. And now we are in electronics. We told you before we are using Arduino Nano and other materials. As you can see in pictures, we have a circuit for electronic chapter. This is simple. You can watch on our video that how it is made.
Step 7: Electronic and 3D Parts Combined


We combined in this step electronic parts and 3d parts. We have a big hole on our project for electronic part. You can put in and we will close a plexiglass. Didnt see anything :D You can see pictures already.
Step 8: Application for Using Bluetooth


We are using a bluetooth shild for controling clock and different animations. So we have developed an application. This is very simple apk. You can find apk next steps.
Step 9: Testing


Step 10: Arduino Codes, Chematic and APK
And finally, We need some codes for project. And If you want to make this " ANIMATED RGB WALL CLOCK ", you need some materials,3D Printer parts files, arduino codes and electronic shematic. You can find all files below links for downloads.
3D Printer files : https://goo.gl/FPzcS6
Arduino codes : https://goo.gl/YM8G1Y
Electronic shematic : https://goo.gl/h2qFHw
Android APK : https://goo.gl/jJHWvP


