

Introduction: Arduino: CNC Machine / Part 1


I decided to make my own CNC machine because I want to start making my own pcb boards. Although I have tried almost every single way to transfer ink to your pcb board it just hasn't worked out. So I thought hey why not have a machine just basically put the ink onto your board! Without further a do, let's get started!
Step 1: Patreon


As you may or may not know, I am Kester. I have a YouTube channel that is based on making electronics videos and diy videos and tutorials. As me making lots of videos and putting time and lots of effort and money into producing products and videos, I would like to get some support from my fellow fans to help me keep up with producing more content and projects for you guys. So on behalf, I would like to show you guys Patreon. Patreon helps support fellow DIY'ers and people who need help from the fans and supporters to keep content flowing for their fans to enjoy. So what I'm asking for is a donation from you guys to keep my content going and to make my fans happy by producing more content! Thanks again for all of your support. Be sure to check out my YouTube channel and my Patreon account! Thanks guys!
Patreon:
https://www.patreon.com/user?u=4045385
YouTube:
https://m.youtube.com/channel/UCirBSU9itO2RZVKJJqgxy9A
Step 2: Parts List


As I followed the schematic from tinkernut here's all the parts you would need for this project:
- PCB board
- Arduino Nano
- 3 Arduino Stepper Motor Drivers
- Female Headers
- Wire
- 5V Wall Jack
- Soldering Iron
Optional:
- PCB Screws and Spacers
Step 3: Add the Female Headers to the PCB


Now you need to arrange where you want to put your Arduino nano and stepper motor drivers at into your pcb. Once you have done that you can solder the female headers onto the board.
Step 4: Add the Male Headers to the Board

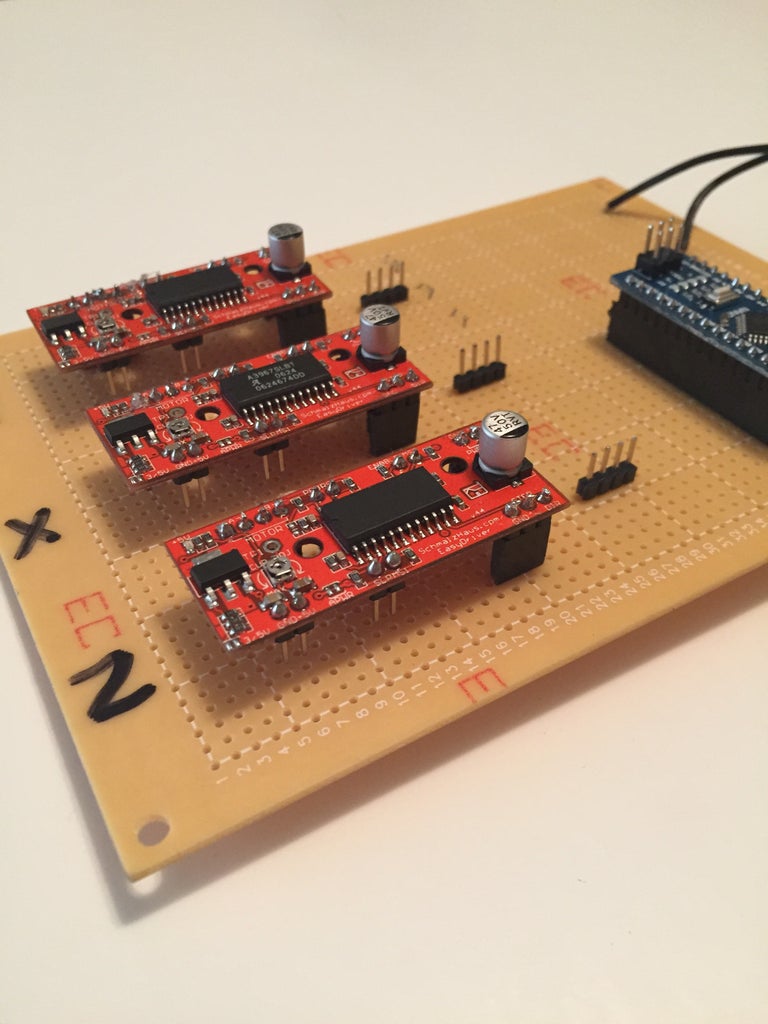
Add the male header to the board so when you can unattach and attach the motor to the board as you like.
Step 5: Wire Everything Up


Now you can start following this schematic in order to wire everything up! Make sure you have solid connections!
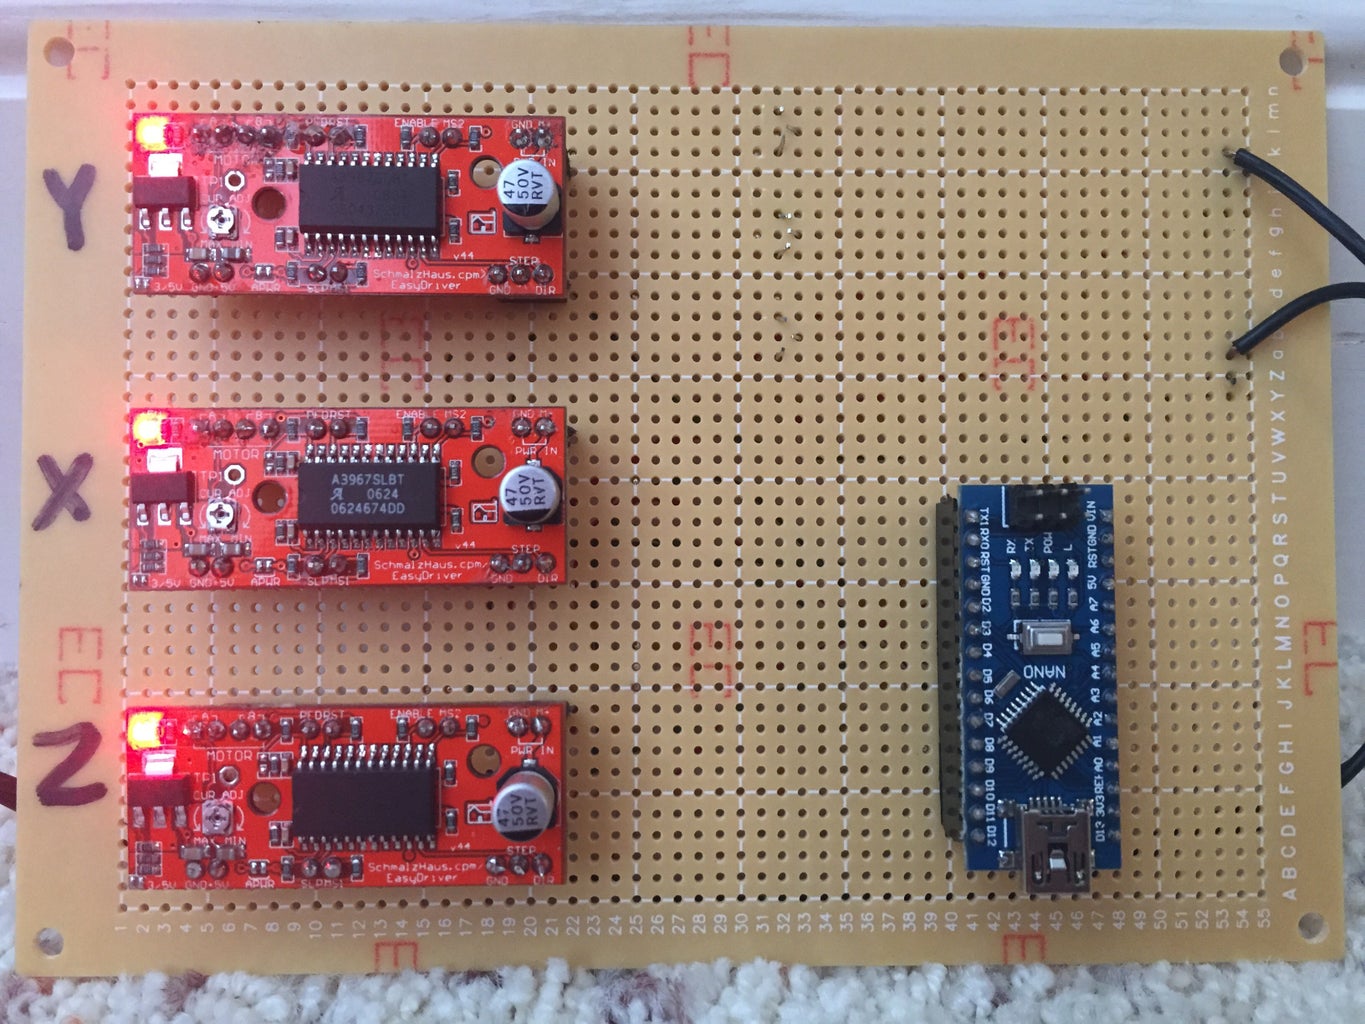
I also went ahead and marked on the side of the pcb the axis the stepper motor drives also.
Now take your 5V wall jack and solder the positive lead into the positive rail and solder the negative lead into the negative rail.
Now test to see if the LED's light up on the stepper motor drivers when you plug the wall outlet into the wall.
Step 6: Done!

Now you have completed the first step of building your very own CNC machine! Now it's time to build the hardware! Stay tuned for the second part of this tutorial!
Step 7: Vote for Me!

Hey guys! Hope you guys liked this Instructables! If you could, could you guys please vote for me in the CIRCUITS CONTEST that would mean a lot to me! Thanks again guys for all of your support!

Participated in the
Circuits Contest 2016


